Hair Breakage After Weave
When it comes to rockin’ a weave, whether with a closure or leave-out, part of the execution relies on proper maintenance. Believe it or not, how often you moisturize your scalp determines how long and how well you’ll be able to slay the look.
I remember going to the local beauty supply that sold both hair products and extensions and choosing the wave pattern that would best express my mood. My mom would always remind me how important it was that I took care of my scalp “because if you have nothing to connect it to, then what’s the point?” she would say every time.
With that in mind, I started investing in scalp oils like carrot and tea tree to massage between the tracks. I also suffer from a crazy, dry scalp. Even if my hair is clean and moisturized, it itches without fail. This meant I also had to find an astringent that would help cleanse between washes and relieve the really itchy times without affecting my braids.
Now that I’m about 30 weaves into the game, I can offer up some tips on how to remove your weave and retain as much as your hair as possible.
1) Section your hair


Photos from YouTube by Shay Amour
Depending on the density of your install, section your hair into . Thinking that you can start from the back or front of your head and attack the job that way will prove to be a lot more exhausting than you expected.
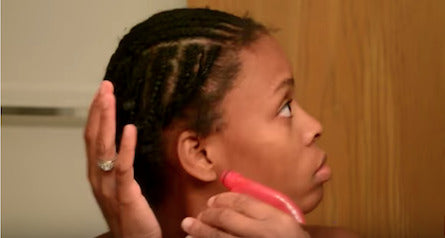
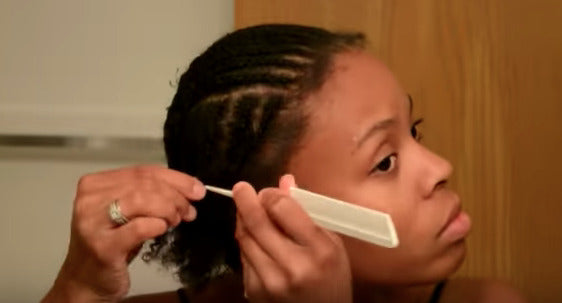
2) Establish a starting point


Photos from YouTube by GeekyAndGlam24
Use a seam ripper, eyebrow shaper or scissors to remove the cap covering your braids or to remove the thread directly connected to your braids. This method can also be applied to a closure. Place the blade under the thread and pull upwards or cut the thread with your scissors.
3) Take Your Braids Out

Photos from YouTube by Ching
Once the loops of thread have been cut away from your braid, take the braid down. This can be done with your fingers or a comb. Apply some oil to your fingers or apply a leave-in conditioner to make the process smoother and prevent further tangling. If your scalp is dry, feel free to apply oil there too. This will help to prep your hair for a wash.
4) Detangle hair to prep for wash.
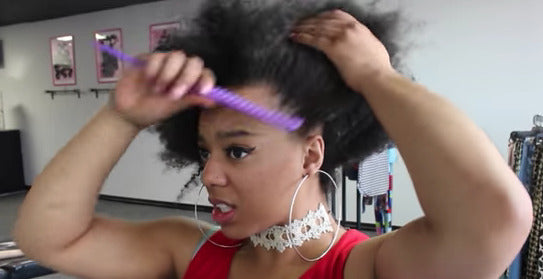


Photos from YouTube by Tierra J Beauty
By this time, you're probably using your last bit of energy to get through the removal process. Stay strong! You're almost there. Once all of the braids have been taken down, gently comb through your hair from the ends to the roots. This way you can catch hidden knots and have an easier wash ahead of you.
5) Wash extensions and prep deep conditioner.


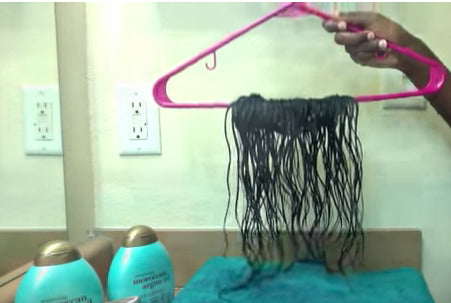
Photos from YouTube by Juss.Erin
Now that your scalp is free and your locks are ready to be cleansed, determine whether you’re keeping your extensions for another wear. Some recommend using softsoap with a bit of fabric softener, but you could use a bit of your shampoo to wash them and then condition or apply a light, leave-in-conditioner.


Photos from YouTube by Babilon Kay
After shampooing your natural hair, apply a deep conditioner to revitalize your tresses. Pour the conditioner into a small bowl and heat it for 15-30 seconds or until it’s at your preferred temperature. This will feel great on your scalp, and will add some protein and body to your hair. You can leave it on anywhere between 5-10 minutes.
After rinsing with cold water, you’ll be able to tell the difference. And there you have it! Your weave is out, your extensions are ready for the next go round and hopefully your hair experienced the least amount of breakage throughout the entire process.